
 Basketweave Stitch Hat
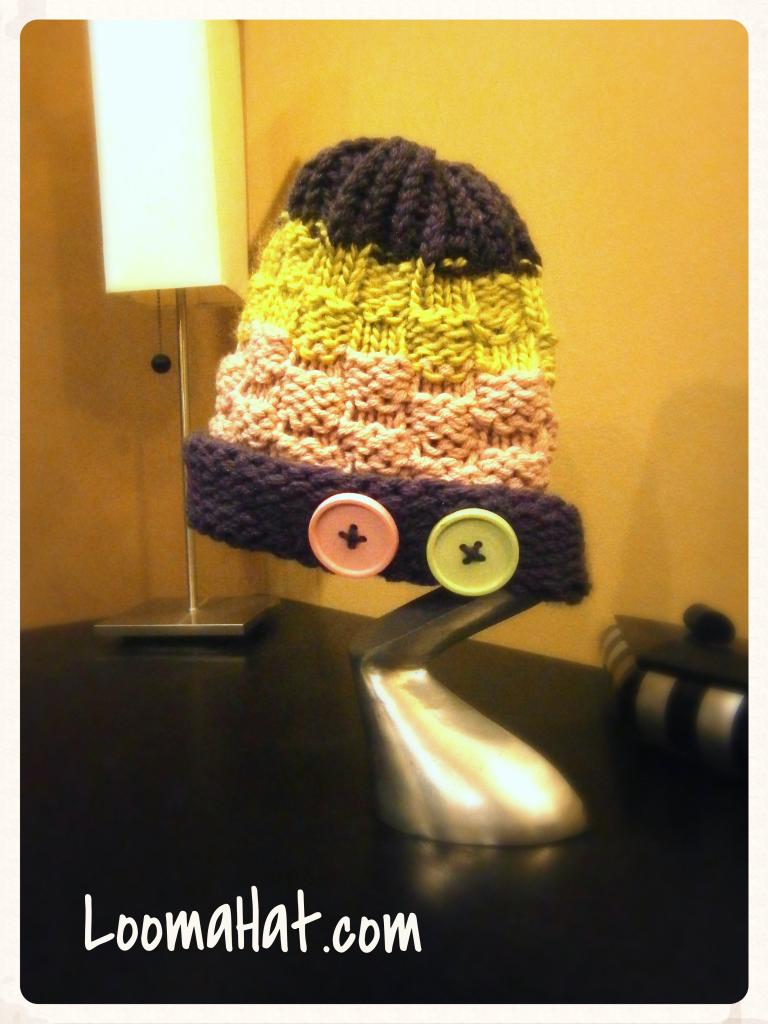
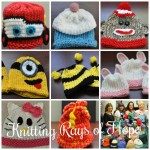
The Basketweave Stitch Hat was designed especially to donate to Knitting Rays of Hope a group that loom knits for cancer patients big and small. My intention was a 1920’s style hat for a millennium baby. I have to say that I am very happy with the results
I am sharing this easy pattern for Free. My favorite price. I hope you will make one for your baby and give one to a great charity. Look at my list for a few suggestions.
Below is a the pattern. Please share your pictures, comments and suggestions. All are greatly appreciated
Basketweave Stitch Hat – The Pattern
 Notes:
Knit with two strands of yarn as one.
Loom Used: Darice 36 Peg
Yarn Used: Red Heart Eco-Ways in colors Cornflower and Misty Violet
For the Fabric Flower Pattern: Click Here
For more Information on Knitting Rays of Hope : Click Here
Below is a Video Tutorial of the Knit and Purl Stitches
Cast on:
Brim:
Rows 1- 4 Knit
– Change yarn color
Rows 5 – 11 Knit
Hat:
Rows 12 – 15 Knit 4, Purl 4
Rows 16 – 19 Purl 4, Knit 4
Rows 20 – 24 Knit 4, Purl 4
Rows 25 – 28 Purl 4, Knit 4
– Continue the pattern if you need the hat to be longer. Stop when you have 3 more rows to go. You need three rows to complete the recommended Cast-off.
Cast- Off :
 Another Basketweave Stitch Hat
The Basketweave Stitch Hat is very special to me. I had a great time making it. I believe it can be completed in a pretty decent amount of time considering how impressive the stitch appears. But you do have to focus to carry out the stitch and I do suggest that you keep a counter and a piece of paper and pencil.
For another version of the Basketweave stitch pattern : Click Here
I hope you like the pattern enough to try some variations. Here is the picture of another version of the Basketweave Stitch Hat. It has a longer Brim wrap-up. Three changes of color. The flat knit stitch was used with the pink section. Regular knit on the green section. The basic knit stitch for the top. Three different types of yarn make this hat look very different from the first one although there are just a few differences. Like the original one I used the Flat Drawstring Cast-off. I call it the Funky version.
Here are a few of the Stitch Resources I use:
Books for Patterns and Stitches

Learn Stitches

Learn Cables

Learn Projects
=====================================================================================================


I really like this hat, but i need the exact pattern to make one on the KK blue 24 peg loom. I am no good at making changes. would you please write up how to do this on this loom. expecting a great- grand daughter any minute now 🙂
Sandra, I would love to help but adjusting a pattern is not as easy or quick as it sound for anyone, me included. I consider this project completed and I have to move on. I can only suggest that you do the stitch pattern using the number of rows consistent with your hat size. Here is a size chart that can give you some ideas : Click HERE
Looks great… I can’t wait to try this.. Thanks for all your hard work if putting this together…you do a wonderful job!
Denise … can this pattern be done on the AIO..???? Just curious what it would look like… I’m sure some adjustment will have to be made because of the guage of the AIO…
Hi Priscilla, just about any pattern can be done on the AIO and because the gauges on these looms are smaller the stitches tent to look better. Also because everything is smaller – you need to add more rows.. start with a swatch to get a better idea of the gauge.
Hope that helps,
denise
I made this hat for my baby niece, but had to adjust the pattern a bit. It turned out so cute and I just loved it! I hope to make more. I don’t have Facebook, but I emailed you some pictures and the changes I made to the pattern to make it work for the 30 peg loom, which basically was to knit 3, purl three, in the alternating rows clear to the end, then cast off, taking off the three purls stitches sections, and then the three knit stiches sections last (just like you show, only using three stitches at a time, instead of two). It turned out so cute! Thanks so much for the pattern!
Thanks DA !!! – Can I share them on Facebook?
Sure!
Thank you!!! I well give it a try. I have made a few some turn out ok other get frogged. The thicker yarn seems to be the best just to e wrap. For me anyway..
Thanks again.. and thanks for the free pattern.. on my to do list 🙂
Love this hat!!!
Hello I’m new to looming. I’ve been trying to make hats. My problem is I end up with wider spaces on each side of my begining peg . Goes from the first row to the last. Someone suggested doing the u knit stitch. Still have the problem. Help please? You work is lovely..
Hi Mary, thanks for you lovely words..
I suggest you try a flat stitch. Put the yarn in front of the peg (flat) – then knit over. It’s a very tight stitch
Hope that helps
denise
Thank you for your suggestion. I will try the flat stitch. I just dont under stand why i have the space . I dont have it on other stiches only the ones on the sides of starting peg. Stitches all look even through it it just the in between ( im e wrapping it) thanks again. Im going to try the flat stitch hope it works. Mary
Hi Mary,
I know this is late, but perhaps this will help someone else in the future. I have read that if you cast on and knit each peg individually… (don’t wrap the whole loom before knitting over) it will eliminate that little gap. I don’t understand why it happens either. But if you put your slip knot on your first peg (no looping over on that peg), then on your next, wrap your yarn around twice, then knit the bottom loop over the top before moving on to peg three and do the whole loom that way, you will not have the gap. I have not make an e-wrap only type of hat this way, but I did just make another kind and I had no gaps, so that was very promising. I hope this helps!
We are so grateful for you & love that we connected! We received your beautiful hats & would like to thank you for your donation to our cause! Please read about it at:
http://knittingraysofhope.wordpress.com/2013/10/09/endless-gratitude-to-loomahat/
Have a fantastic day!
Pali
knittingraysofhope.wordpress.com
I wish I could help more.. You guys are AWESOME !
We are so lucky to have online friends like you! 🙂 We anxiously wait for your hats you are creating for our cause! As the weather has started cooling down, we are getting a little overwhelmed with new requests and really hope to be able to meet everyone’s needs…. so send, send, send (please) 🙂
Thank you for all you do for us!
~Pali & Vanessa
http://knittingraysofhope.wordpress.com
I love how hard you guys work. Want to mention the site every chance I get… My Spanish website is the next Knitting Rays of Hope target
I love it! Gonna try it for my next hat. 🙂
Project Complete! 🙂 http://www.flickr.com/photos/chuntaili/10045402474/
is there a way to make a pony tail hat on the loom? the one with a hole for the pony tail to fit thru.
Yes. Just create a brim on the top of the hat just like the brim on the top bottom. Put a string through it so that you can pull it tight around the ponytail.
Hope that helps
denise
This is really a sweet hat — thanks for the pattern!
Cheers, Karen
Hi Karen! Thanks for stopping by. I am a big fan of your website. Your work is BEAUTIFUL ! Want to give my readers your link. http://knittingwithlooms.blogspot.com/
denise